Installing UniVRM in Unity is an essential step for developers working with VRM-based 3D avatars. Whether you’re building VTuber tools, virtual reality experiences, or character-driven applications, UniVRM provides seamless import and export functionality tailored for Unity’s workflow. Ensuring proper installation helps maintain compatibility, performance, and ease of use across platforms.
This guide outlines two effective installation methods: importing via UnityPackage and integrating via the Unity Package Manager (UPM). Both approaches are simple but vary depending on your project needs and update preferences. With UniVRM correctly installed, you’ll be ready to bring expressive humanoid avatars into your Unity scenes.
Pre-Installation Requirements
Before proceeding with the installation, ensure that the following prerequisites are met:
Unity Editor Installed and Project Opened
You must have Unity installed on your system. It is recommended to use an LTS (Long-Term Support) version such as Unity 2020.3 or 2022.3 for maximum stability and compatibility. Create or open an existing Unity project in which you want to implement UniVRM.
Internet Connection for GitHub Access
If you are using the Unity Package Manager (UPM) method, you’ll need an active internet connection. The required packages are fetched from remote GitHub repositories during the installation process.
Familiarity with Unity Workflow
A basic understanding of Unity’s interface and workflow is essential. You should be comfortable using Unity’s Project pane, importing assets, and modifying configuration files such as manifest.json.
Installation Methods Overview
UniVRM can be installed in two primary ways. Each method has its advantages depending on your needs.
UnityPackage (Manual Installation)
This is the most straightforward and beginner-friendly method. You manually download the required UnityPackage files and import them directly into your project. It provides a controlled, step-by-step installation.
Unity Package Manager (UPM)
This method involves editing the manifest.json file to include references to the UniVRM GitHub repositories. It is ideal for advanced users or those who prefer a more integrated and update-friendly approach.
Comparison
- Ease of Use: Manual installation is easier for beginners.
- Flexibility: UPM allows easier updates and dependency management.
- Control: Manual gives more control over specific files and versions.
Installing via UnityPackage (Manual Installation)
Download Packages
To get started, download the following UnityPackage files in order:
- UniGLTF_VRMShaders.unitypackage
- UniVRM.unitypackage
These packages contain the core shaders, import/export utilities, and supporting tools necessary for UniVRM to function correctly within Unity.
Import into Unity
- Open your Unity project.
- Locate the downloaded
.unitypackagefiles. - Drag and drop each file into the Unity Project pane.
- Unity will prompt you to import assets. Click Import and wait for the process to complete.
- Ensure no errors appear in the Console tab.
Confirm Installation
After successful import, you should see new UniVRM-related options in the Unity toolbar menu.
- Try importing a
.vrmfile by dragging it into the Assets folder. - A prefab should be automatically generated, along with associated materials and textures.
- Drag the prefab into your scene to confirm successful setup.
Installing via Unity Package Manager (UPM)
Modify manifest.json
- In your Unity project directory, navigate to:
Packages > manifest.json. - Open the
manifest.jsonfile in a text editor. - Add the following dependencies, adjusting the version number as needed:
"com.vrmc.gltf": "https://github.com/vrm-c/UniGLTF.git#vX.XX.X",
"com.vrmc.vrmshaders": "https://github.com/vrm-c/VRMShaders.git#vX.XX.X",
"com.vrmc.vrm": "https://github.com/vrm-c/VRM.git#vX.XX.X"
Make sure each line is comma-separated correctly and fits within the existing dependencies block.
Refresh Unity Project
- Save the
manifest.jsonfile. - Return to Unity.
- Unity will automatically fetch the packages and compile them.
- Monitor the Console window for success messages or potential errors.
Verify Package Installation
- Check the Packages folder in your Project window.
- You should now see folders named
com.vrmc.gltf,com.vrmc.vrmshaders, andcom.vrmc.vrm. - Additional menu items and functionality for importing VRM files should now be available.
Post-Installation Verification
It’s crucial to verify that UniVRM has been properly installed before starting development.
Test by Importing a VRM File
- Download or create a
.vrmfile. - Drag the file into your Unity Assets folder.
- Wait for Unity to process the file.
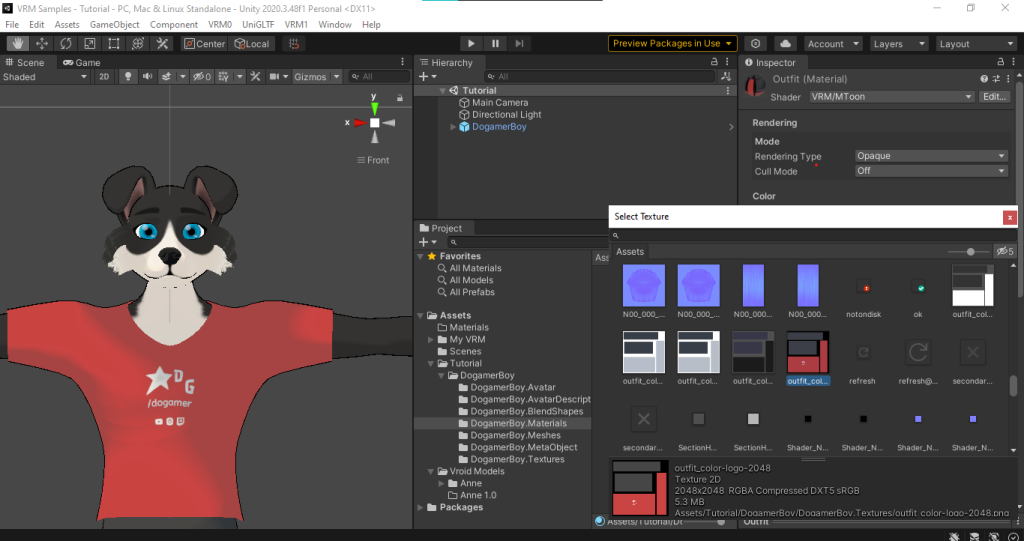
- Check that a prefab, materials, and textures are generated automatically.
- Drag the prefab into your Scene view.
- Confirm that the avatar appears correctly and can be manipulated.
Check Inspector and Scene View
- Ensure the avatar appears with proper textures and animations.
- Test basic movements if animations are embedded.
- Verify that no errors appear in the Console.
Troubleshooting Common Issues
Even with proper steps, you may encounter issues. Below are the most common problems and their solutions.
Missing Shaders or Materials
Ensure that the VRMShaders package is correctly imported. Missing this package will result in invisible or incomplete models.
Console Errors After Import
- Double-check that your
manifest.jsonis correctly formatted. - Ensure all referenced package versions exist.
- Try restarting Unity if errors persist.
Model Not Appearing in Scene
- Make sure you’ve assigned the prefab correctly.
- Check if the avatar’s position is set to 0,0,0 within the Scene.
Compatibility Warnings
- UniVRM is best supported in Unity LTS versions.
- Experimental Unity releases may break certain import/export features.
Conclusion
UniVRM is a foundational task for developers building avatar-driven applications in Unity. With support for both manual installation and package-based integration, UniVRM offers flexibility and robust tools for working with VRM models.
By following the steps outlined in this guide, you can confidently set up UniVRM in your Unity project, troubleshoot common issues, and begin creating interactive, expressive 3D experiences. Regularly refer to the official documentation and GitHub repository for updates and best practices to maintain an efficient development workflow.

